Tuesday 28th April 2026
What do we do to maintain our emergency lighting? It’s a question that doesn’t get asked nearly enough. Emergency lighting maintenance is one of those things nobody prioritises until they really, really need it. The power cuts out and suddenly those glowing green exit signs are the most important things in the building. Not to mention the fact that the law requires you to maintain emergency lighting in your building, and the stakes are higher than most people realise.
Whether you are responsible for a busy office, a bustling shop, a rented property or a sprawling commercial site, this guide covers everything you need to know when it comes to properly maintaining your emergency lighting.
💡In This Guide
- What Is Emergency Lighting?
- What Is the Purpose of Emergency Lighting?
- Where Is Emergency Lighting Required?
- How Often Should Emergency Lighting Be Tested?
- How to Test Emergency Lighting
- Who Can Test Emergency Lighting?
- What Do We Do to Maintain Our Emergency Lighting?
What Is Emergency Lighting?
Emergency lighting is a battery-backed lighting system that activates automatically when the mains power supply fails. Unlike standard light fittings, these do not rely on the grid. They have their own internal power source, so when the likes of a powercut happen, people can still see where they are going.
There are two main types: escape route lighting illuminates the path people need to follow to get out safely, while standby lighting allows normal activities to continue during a power failure. This is most common in places such as hospitals or control rooms where work simply cannot stop. Most systems are either Maintained (on all the time) or non-maintained (only activating when the mains fails). The type you need depends on how your building is used.
What Are Illuminated Exit Signs?
Illuminated exit signs are technically a form of emergency lighting, but they cause more confusion than you might expect, largely because people are not always sure whether they should be on all the time or only during an emergency.
Those green running-man signs above fire doors need to be either maintained (always illuminated) or non-maintained (only lit during an emergency). In most public buildings, maintained signs are the standard. The logic is simple: you want people to know exactly where the exits are before a fire breaks out, not just when they are already scrambling to find them.
What Is the Purpose of Emergency Lighting?
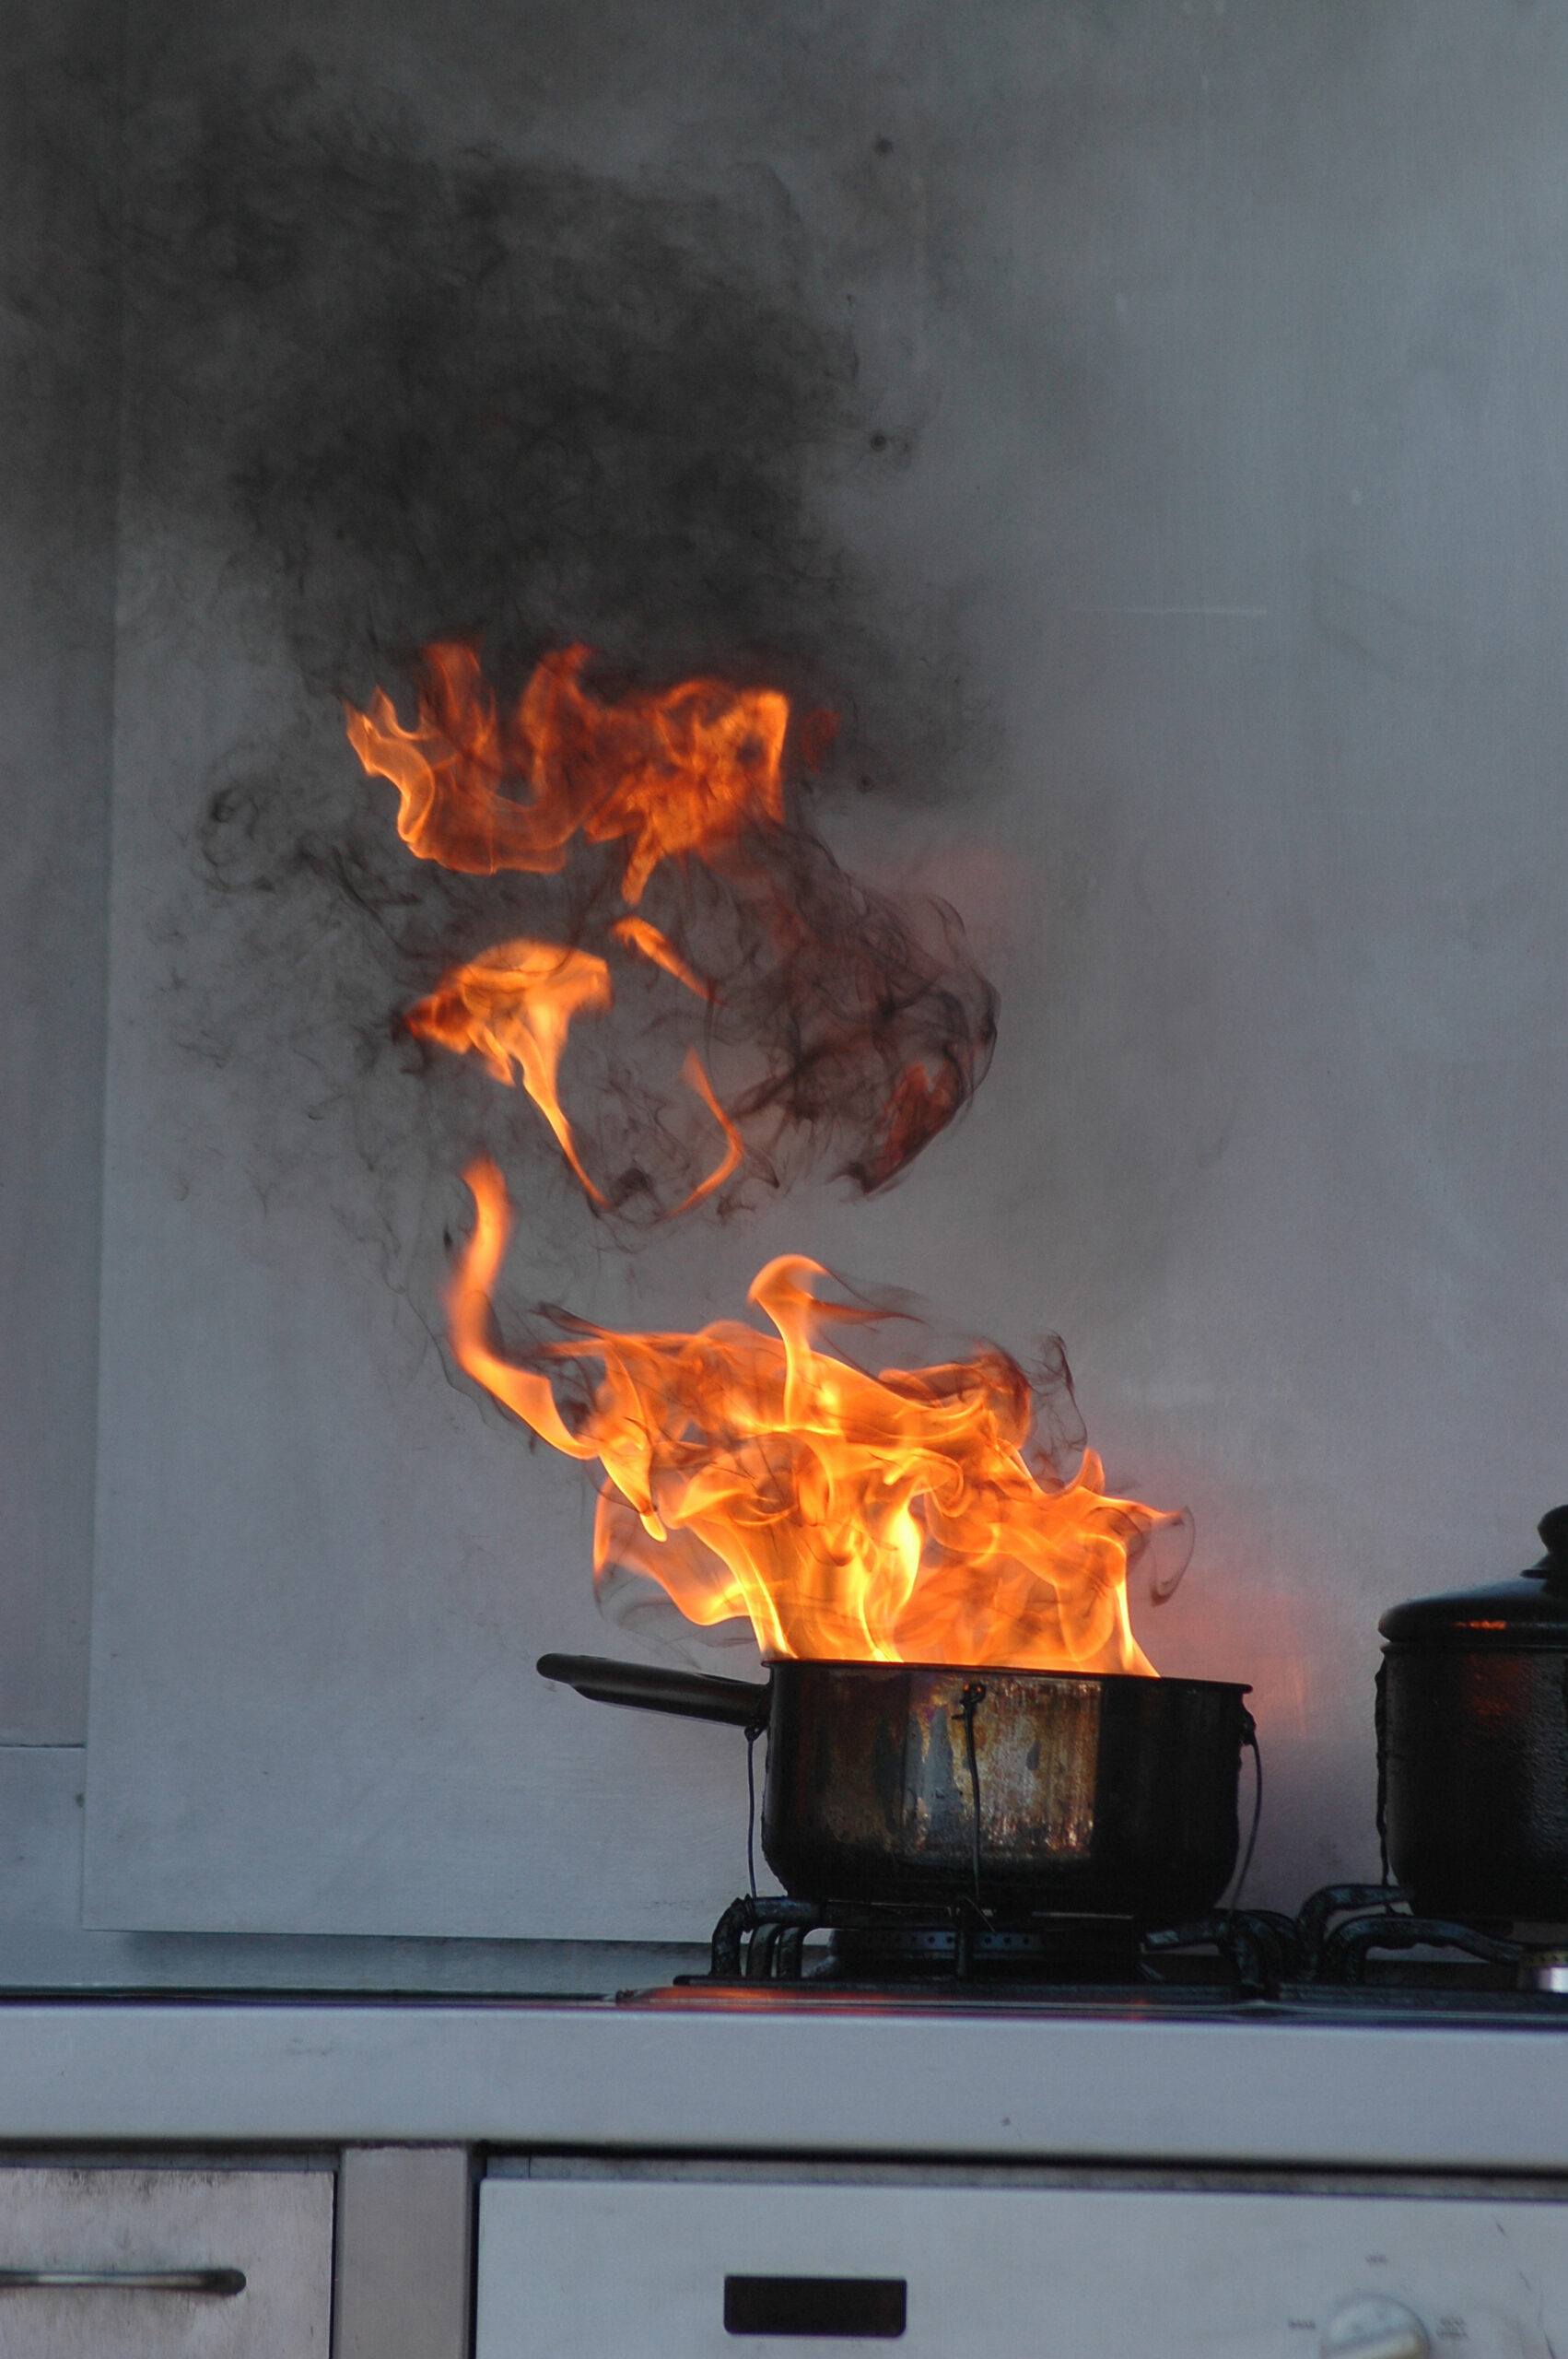
The purpose of emergency lighting is to keep people safe when an emergency plunges a building into darkness. This could be anything from a powercut to a fire.
Without it, evacuation becomes dangerous. People trip, panic, lose their bearings and struggle to find exits they would otherwise walk past every day. There is also a legal dimension. The Regulatory Reform (Fire Safety) Order 2005 requires it for most non-domestic premises in England and Wales. Equivalent legislation covers Scotland and Northern Ireland. Your fire risk assessment should identify whether it is needed and where; if it does, you are obligated to install and maintain the system correctly.

💡Where Is Emergency Lighting Required?
Emergency lighting is required anywhere that a loss of mains lighting would put people at risk. In practice, that means most areas of most commercial buildings. The fittings are typically needed in:
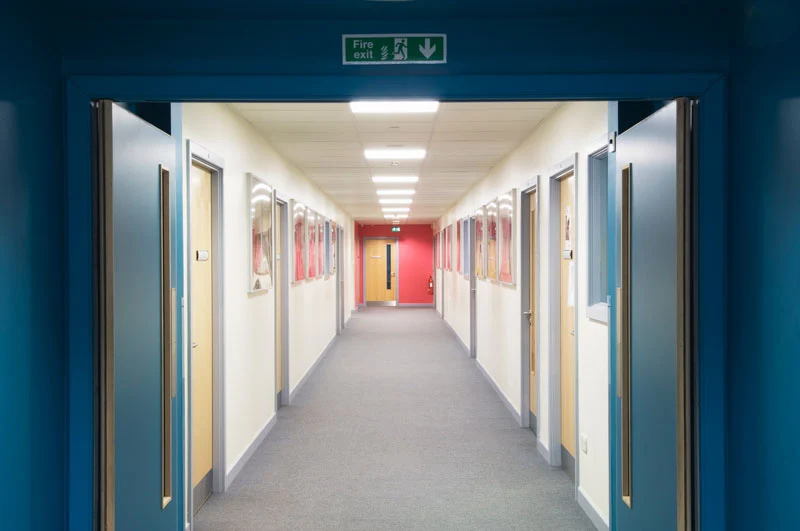
- Escape routes, including corridors and stairwells
- Open plan areas where people work or gather
- Changing rooms and toilet facilities above a certain size
- Locations housing fire fighting equipment
- Areas around fire alarm call points
- Any spot containing a hazard that someone might walk into in the dark
That last one is worth thinking about carefully. A poorly lit plant room or a stairwell with an awkward turn can be seriously dangerous without adequate lighting during an emergency.
Does My Building Need Emergency Lighting?
Most commercial and public buildings will need some form of it. This includes:
- Offices and retail premises
- Schools, hospitals and care homes
- Hotels and leisure facilities
- Places of worship
- HMOs and buildings with shared communal areas
If you are unsure, a professional fire risk assessment for your premises is the right way to establish your specific requirements. Standard single-occupancy homes are generally exempt, but properties with shared areas, such as blocks of flats, will almost certainly need it in common parts like corridors and stairwells.
How Often Should Emergency Lighting Be Tested?
Emergency lighting should be tested more often than most people realise. Emergency lighting is not a fit-and-forget installation; it needs regular, documented testing to remain compliant and, more importantly, to actually work when it is needed.
BS 5266-1:2025 (the British Standard that governs emergency lighting, updated in October 2025 to replace the previous 2016 edition) sets out a clear schedule. Here is what it looks like:
| Test type | Frequency | Duration | Who can do it |
|---|---|---|---|
| Short functional test | Monthly | ~1 minute | Competent in-house person |
| Full rated discharge test | Annually | 3 hours | Competent person or qualified contractor |
The monthly test is a quick check to confirm the system activates. The annual test is the proper stress test; it runs the batteries down to their full rated duration to confirm they can sustain the system when it counts.
Some modern systems come with self-testing functionality, where each luminaire carries out its own checks automatically and logs the results. For larger sites, this can be a genuine time-saver and is well worth considering.
How to Test Emergency Lighting
Thankfully, testing isn’t complicated. It does, however, need to be done properly and recorded every single time.
Monthly Emergency Lighting Test (Short Functional Test)
The monthly test is about confirming basic functionality. You are simply checking that the lights come on when the mains power is interrupted and that exit signs illuminate as they should.
To carry it out, the mains supply to the emergency lighting circuit is interrupted; either via a key switch, a dedicated test switch or by isolating the circuit at the distribution board. The fittings should activate immediately. Once you have confirmed they are working, restore the mains supply and allow the batteries to recharge. Keep the test short to avoid draining the batteries unnecessarily.
Log the date, the tester’s name and the outcome straight away. Do not leave it until the end of the week.
Annual Emergency Lighting Test (Full Duration Test)
Annual emergency lighting takes a bit more planning. The mains supply is cut for the full rated duration of the system (three hours for most installations) and the lights must remain functional throughout. At the end of the test, every luminaire and sign is checked to confirm it is still illuminated.
As this discharges the batteries significantly, it needs to happen at a time when the building will not need the system to work in an emergency for at least 24 hours afterwards. For sites that are occupied around the clock, that takes some coordination.
Any faults found during the annual test must be repaired and retested before the system is signed off. A failed luminaire or a battery that gives up the ghost partway through needs to be fixed before you can consider the test complete.
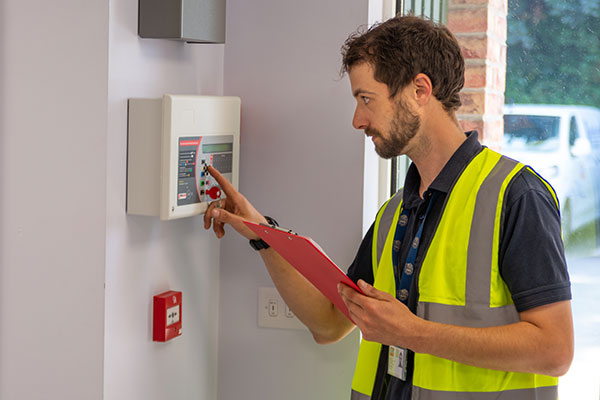
Who Can Test Emergency Lighting?
The monthly functional test can be carried out by a competent, trained member of staff. This basically means someone who understands the system, knows how to use the test switches and isolation procedures and can record the results accurately. A specialist contractor isn’t needed in this scenario, so long as your staff member actually knows what they are doing.
The annual full duration test is a different matter, however. Technically, a competent internal team member can still carry it out. In practice, many organisations bring in a qualified electrical contractor or specialist fire safety engineer for this one, and there are good reasons for that. The annual test involves extended electrical isolation, a thorough inspection of every fitting and a proper assessment of battery condition. Missing a fault at this stage is not just a paperwork problem.Does Emergency Lighting Testing Need to Be Certified?
For many premises, yes. Buildings subject to third-party audits, specific insurance requirements or licensing conditions will often need a written certificate confirming the annual test was carried out to BS 5266-1. A qualified contractor can provide this, which gives building owners and managers a useful layer of documented assurance.
If you manage a large or complex site, a maintenance contract covering both monthly and annual testing is worth serious consideration. It removes the risk of something slipping through the cracks, which (speaking from experience dealing with a lot of building managers) happens more often than anyone likes to admit.
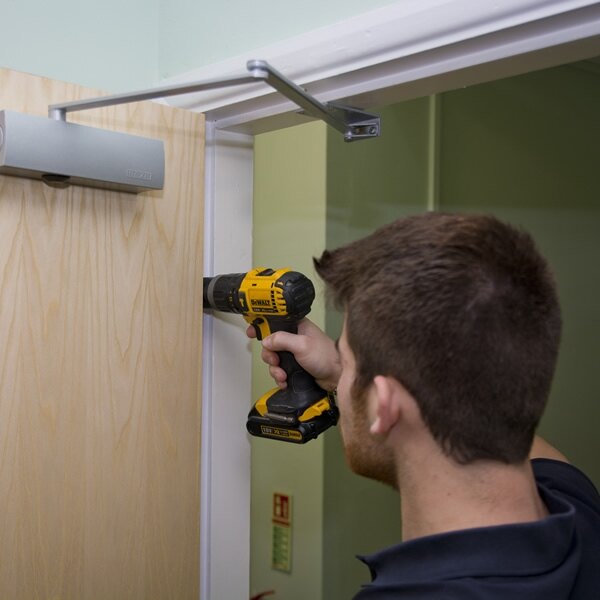
What Do We Do to Maintain Our Emergency Lighting?
Good emergency lighting maintenance comes down to a consistent process, carried out by people who know what they are looking for every single time.
Here is what a solid regime looks like in practice:
- Monthly: A short functional test confirms all luminaires and exit signs activate correctly. Results go into the log book the same day.
- Annually: A full rated discharge test is completed, batteries are assessed, any faults are repaired and the system is certified as compliant with BS 5266-1.
- Ongoing: Any faults spotted during routine checks are dealt with promptly. A dim luminaire, a cracked fitting or a failing exit sign LED should never be left for the next scheduled test. Emergency lighting faults are not the kind of thing to add to a to-do list and forget about.
It’s also worth carrying out a visual inspection as part of your regular fire safety walkround. Fittings should be clean, undamaged, unobstructed and positioned correctly. If someone has moved a cabinet in front of an exit sign, or a new partition has been put up that leaves a dark patch in an escape route, those problems need fixing outside of the formal test schedule.
Keeping Records
This deserves its own mention, because it is the part that most often gets overlooked. A testing log is not a bureaucratic formality, but your evidence of compliance. Without it you have very little to show anyone who asks.
Your log should record every test carried out: the date and time, the name of the person responsible, the outcome and any remedial actions taken. Safelincs offers free fire safety log books to help with exactly this, ready for download instantly.
A system that has not been tested, has failing batteries or leaves dark spots in an escape route is a real risk to real people. The good news is that maintaining it properly is not complicated. A clear testing schedule, a reliable log book and competent people carrying out the checks will cover the vast majority of what you need.
If you need support, whether that is sourcing the right emergency lighting fittings and luminaires, getting clarity on your legal obligations or arranging a fire risk assessment, the Safelincs team is here and genuinely happy to help. Feel free to get in touch and we’ll answer any query you may have.