Fire & Safety Solutions
CALL OUR TEAM NOW 0800 612 6537
Lines open today 8am - 6pm


Quick Delivery
From £3.19 inc VAT
Live Chat - Online
Instant help & Advice
Trade Discounts
and exclusive pricing
0% Credit Available
Open an account now
5 Star Customer Feedback
Easichange Smoke Alarm Removal & Replacement Tool
Product Overview
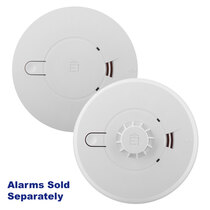
Compatible Alarms
Instructions
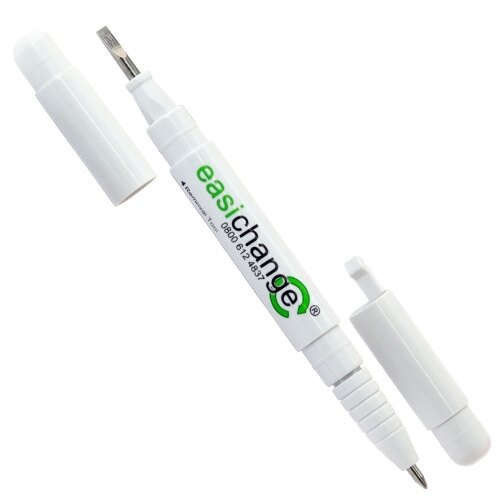
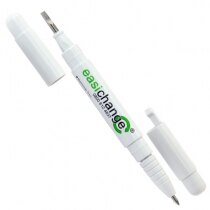
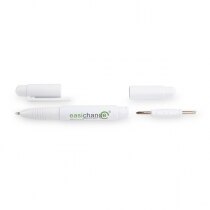
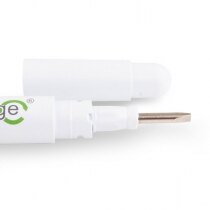
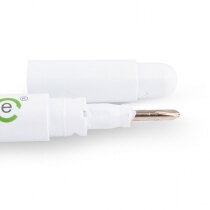
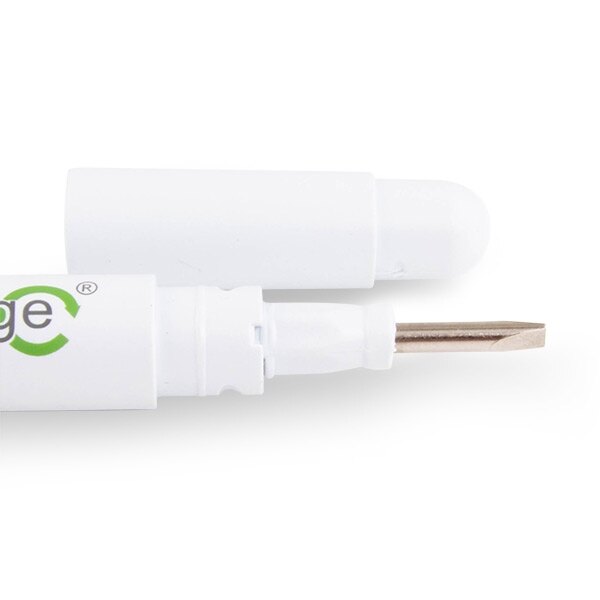
Designed for compatibility with leading smoke alarm brands, the easichange removal tool is the ideal solution for replacing mains-powered smoke and heat alarms at the end of their life without the need for calling in an electrician. Featuring a dual-headed screwdriver the easichange tool inserts into the side of an alarm to release the clasps, allowing the head to be removed from the base ready for a new alarm to click into place. A ballpoint pen is conveniently located at the opposite end of the easichange tool for noting the new alarm's date of installation, either on the alarm itself or in the alarm's manual.
- Designed to work with leading brands
- Kidde Slick and Kidde Firex
- Hispec – including the RF10-PRO wireless range
- Firehawk FH and Firehawk FHN – both BB and RB models
- FireAngel W1-R, FireAngel Pro, and FireAngel Pro Connected
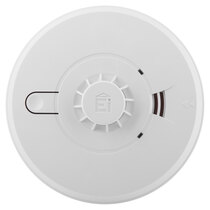
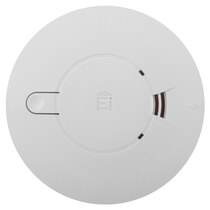
- Ei Electronics and Aico – all series including Ei140, Ei160, Ei2110, Ei3000
- Double-headed screwdriver design makes changing alkaline batteries easier
- Replace mains-powered smoke and heat alarms without needing an electrician
- Ballpoint pen built-in for convenience
- Suitable for most push-to-fit smoke and heat alarms
Please note: Mains power to the alarm must be turned off before removing the alarm head. Ensure that the base plates are compatible before purchasing a replacement alarm.
The table below shows the mains-powered smoke and heat alarms that are compatible with the easichange tool.
|
Product
|
Sensor Type
|
Interlink
|
Backup Battery
|
| Kidde Slick SFW Series | Ionisation, Optical, or Heat | Hardwire Interlink | Alkaline |
| Kidde Slick SFLLW Series | Ionisation, Optical, or Heat | Hardwire Interlink | Lithium |
| Kidde Slick SFWRF Series | Ionisation, Optical, or Heat | Hardwire & Wireless Interlink | Alkaline |
| Kidde Slick SFLLWRF Series | Ionisation, Optical, or Heat | Hardwire & Wireless Interlink | Lithium |
| Kidde Firex KF Series | Ionisation, Optical, or Heat | Hardwire Interlink | Alkaline |
| Kidde Firex KF-R Series | Ionisation, Optical, or Heat | Hardwire Interlink | Lithium |
| Kidde Firex KF-LL Series | Ionisation, Optical, or Heat | Hardwire Interlink | Lithium |
| Hispec RF10-PRO Series | Optical, Heat, CO, Multisensor | Hardwire & Wireless Interlink | Lithium |
| Firehawk FH BB Series | Optical or Heat | Hardwire Interlink | Alkaline |
| Firehawk FH RB Series | Optical or Heat | Hardwire Interlink | Lithium |
| Firehawk FHN BB Series | Optical or Heat | Hardwire Interlink | Alkaline |
| Firehawk FHN RB Series | Optical or Heat | Hardwire Interlink | Lithium |
| FireAngel Pro Series | Optical or Heat | Hardwire Interlink | Lithium |
| FireAngel Pro Wi-Safe Series | Optical or Heat | Hardwire & Wireless Interlink | Lithium |
| FireAngel W1-R Series | Optical or Heat | Hardwire Interlink | Alkaline |
| FireAngel Pro Connected Series | Optical or Heat | Hardwire & Wireless Interlink | Lithium |
| Ei140 Series | Ionisation, Optical, or Heat | Hardwire Interlink | Alkaline |
| Ei140RF Series | Ionisation, Optical, or Heat | Hardwire & Wireless Interlink | Alkaline |
| Ei160e Series | Ionisation, Optical, or Heat | Hardwire Interlink | Lithium |
| Ei160eRF Series | Ionisation, Optical, or Heat | Hardwire & Wireless Interlink | Lithium |
| Ei2110e | Optical & Heat Multisensor | Hardwire Interlink | Lithium |
| Ei2110eRF | Optical & Heat Multisensor | Hardwire & Wireless Interlink | Lithium |
| Ei140e Series | Optical or Heat | Hardwire Interlink | Alkaline |
| Ei140eRF Series | Optical or Heat | Hardwire & Wireless Interlink | Alkaline |
| Ei3000 Series | Optical, Heat, CO, Multisensor | Hardwire Interlink | Lithium |
| Ei3000RF Series | Optical, Heat, CO, Multisensor | Hardwire & Wireless Interlink | Lithium |
Below is a general guide to using the easichange tool for replacing compatible mains-powered alarms. Please check the original installation instructions for your alarm to ensure the correct method of removal.
The image thumbnails can be clicked to load the full-sized versions.
|
1. Disconnect Mains Power |
Before the existing alarm is removed mains power must be disconnected. Look on your mains distribution board for a switch marked "Smoke Alarms" or similar and switch this off. If there isn't a switched marked with a recognisable label then switch the entire mains power off, though you should be aware this will cut power to everything in the house including the lights. |
|
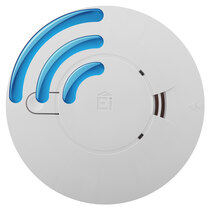
2. Locate Removal Slot  |
Locate the directional arrow on the front face of the alarm, the removal slot is located directly above the arrow. |
|
3. Insert Easichange Tool 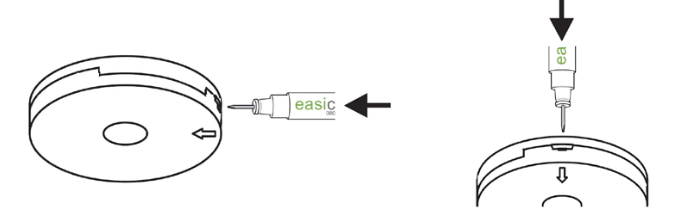 |
Insert the easichange removal tool approx. 1cm into the alarm's removal slot and lever it down gently. |
|
4. Slide The Alarm Away 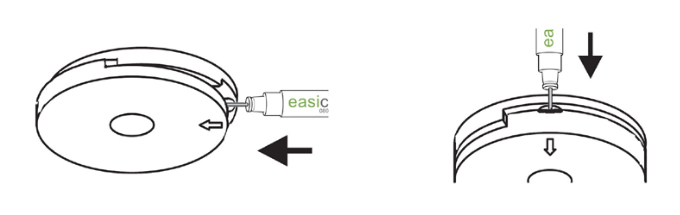 |
With the removal tool still inserted, slide the lower half of the alarm away from the removal tool in the direction of the arrow on the cover. |
|
5. Remove The Alarm 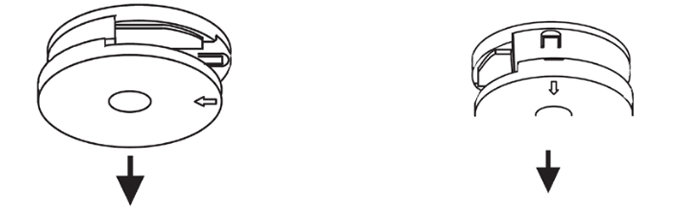 |
Remove the alarm from the base by moving it vertically towards the floor. Some alarms may pivot on a hinge rather than pull straight downwards. |
|
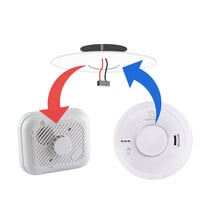
6. Attach The New Alarm  |
Place the alarm on the base, slightly offset from the centre and slide in the opposite direction to the arrow on the cover until it "clicks" into place. |
|
7. Reconnect Mains Power |
After the new alarm has been attached to the base plate, reconnect the mains power supply. |
|
8. Ensure The New Alarm Works 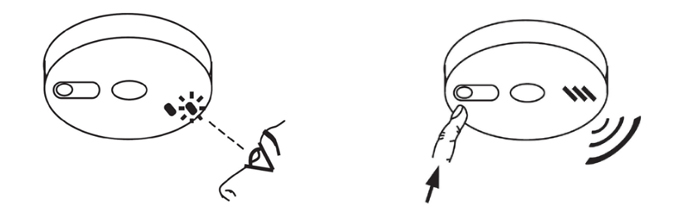 |
Once the new alarm has been connected and the mains power has been restored it is important to check the indicating lights. Mains-powered alarms should have a solid green light to show they are receiving mains power, and often a flashing red light to indicate the unit is working. If the lights are okay, press and hold the test button for 10 seconds; the alarm should sound loudly. If there are other alarms in the house these should also sound within 10 seconds of the test button being pressed. |
Pricing & Availability
| Model | Stock | Price |
|---|---|---|
| Product Code: EASITOOL |
Stock Level:
More than 20 in stock Expected dispatch: Today
|
Price:
£4.07 inc VAT £3.39 ex VAT |
Delivery Options
The following delivery options are available on this product.
Customer Reviews
4 customers have given this product an overall rating of 5 out of 5
Reviews by real customers
All of our product reviews are written by real customers that have purchased this product from us and are published without modification.Rating: 5 / 5 Stars
Reviewed by: D W
Easy to swap over and does not go off as much when i burn toast
Published on: 9th July 2024
Rating: 5 / 5 Stars
Reviewed by: S H
Perfect tool to have , makes removing the units easy
Published on: 29th March 2024
Rating: 5 / 5 Stars
Reviewed by: K E
Very easy to use
Published on: 14th September 2023
Related Products
Mains Powered Smoke Alarms & Heat Alarms with Alkaline Back-up Battery - Aico Ei140e Series
4.9 out of 5 stars£40.55 inc VAT
£33.79 ex VAT

Mains Radio-Interlink Smoke Alarms & Heat Alarms with Alkaline Back-up Battery - Aico Ei140eRF Series
4.7 out of 5 stars£106.52 inc VAT
£88.77 ex VAT
Mains Powered Heat Alarm with Alkaline Back-up Battery - Aico Ei144e
4.8 out of 5 stars£44.03 inc VAT
£36.69 ex VAT

Mains Radio-Interlinked Heat Alarm with Alkaline Back-up Battery - Aico Ei144eRF
5 out of 5 stars£107.22 inc VAT
£89.35 ex VAT
Mains Powered Optical Smoke Alarm with Alkaline Back-up Battery - Aico Ei146e
4.7 out of 5 stars£40.55 inc VAT
£33.79 ex VAT
Mains Radio-Interlinked Optical Smoke Alarm with Alkaline Back-up Battery - Aico Ei146eRF
4.8 out of 5 stars£106.52 inc VAT
£88.77 ex VAT

Looking for more information?
If you have any questions or would like more information about this product you can ask one of our specialists.
Live Chat Available Now
Direct Telephone
01507 464181